If your roof decking has been damaged by moisture intrusion, the best approach is usually to replace the affected sections. While minor, isolated issues might sometimes be patched, extensive or long-standing water damage typically compromises the structural integrity of the wood, making replacement the safer and more durable long-term solution.
Understanding Moisture Intrusion and Decking Damage
Moisture intrusion refers to any instance where water finds its way into your roof system and, crucially, makes contact with the roof decking. This isn’t just about a few raindrops; it’s about sustained dampness or repeated wetting that allows water to penetrate the protective layers and begin to degrade the wood underneath.
Common Causes of Intrusion
Several culprits can lead to water reaching your decking. Missing or damaged shingles are a primary suspect, allowing rain to flow directly onto the underlayment and potentially seep through. Flashing failures around chimneys, vents, skylights, and valleys are another frequent entry point; these metal barriers are designed to divert water, but if they’re bent, cracked, or improperly installed, they become a weak link. Gutters clogged with leaves and debris can cause water to back up and overflow, eventually finding its way under eaves and into the roof structure. Even ice dams, common in colder climates, can force meltwater back up under shingles, leading to significant intrusion.
Types of Decking Damage
Once moisture gets in, it goes to work on the wood. The most common form of damage is wood rot, a fungal decay that softens and weakens the wood fibers. This can manifest as spongy areas, discoloration, or even visible mold growth. Another issue is delamination, particularly with plywood or OSB (Oriented Strand Board). These engineered wood products are made from layers or strands held together with adhesive. When exposed to prolonged moisture, the adhesive can break down, causing the layers to separate, leading to swelling and a loss of structural integrity. In severe cases, the wood might become discolored, warp, or even crumble.
Assessing the Extent of Damage
Before you can fix anything, you need to understand the scale of the problem. A thorough assessment is crucial for determining whether you’re looking at a small patch job or a more extensive replacement project.
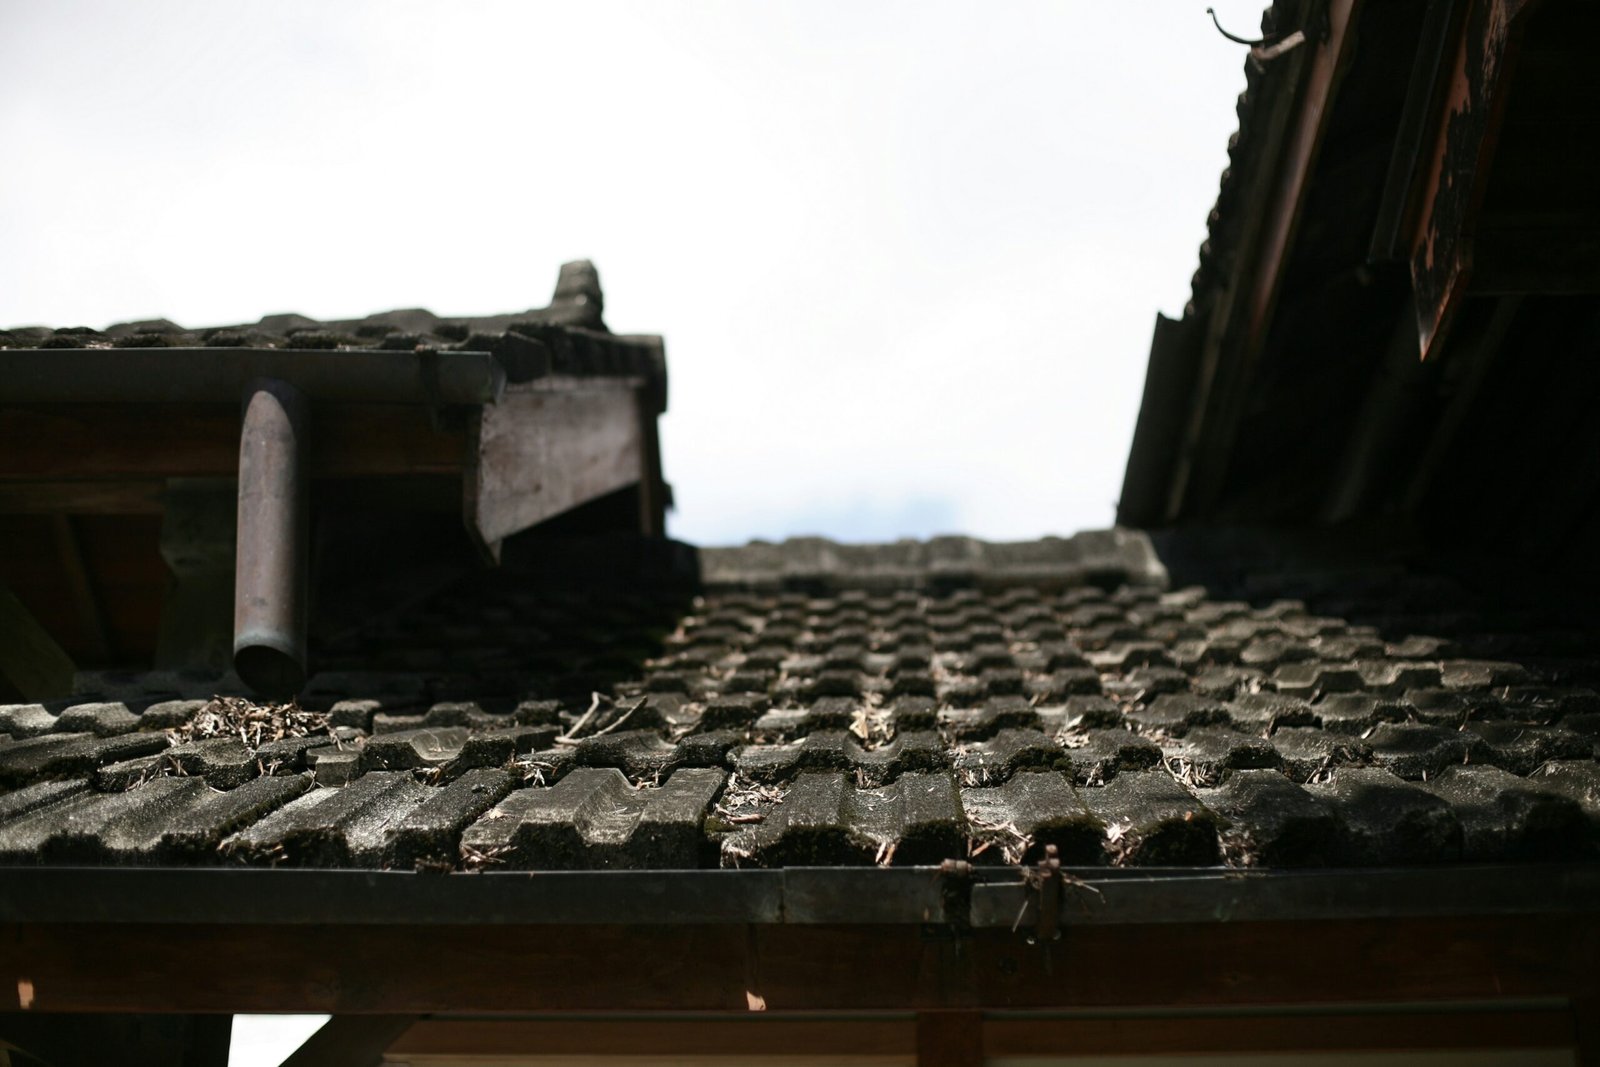
Visual Inspection from Above
Start by visually inspecting the roof surface. Look for obvious signs of water entry like missing or curled shingles, cracked or rusty flashing, and deteriorated caulk around penetrations. Pay close attention to areas around chimneys, skylights, and valleys, as these are common leak points. Also, check for any standing water or areas where water flow seems impeded. This top-down view gives you clues about where the water might be getting in.
Internal Examination from Below
Accessing the attic or crawl space beneath the roof is where you’ll get the real picture of the decking’s health. Bring a strong flashlight and look for water stains on the underside of the decking, especially dark, discolored patches. You might also spot active drips, mold or mildew growth, or even areas where the wood appears warped or sagged. Use a screwdriver or awl to gently probe suspect areas. Healthy wood will be firm and resist penetration, while rotted wood will feel soft and crumbly.
Identifying the Source of Intrusion
Pinpointing the exact entry point of the moisture is critical. There’s no point in repairing the decking if you don’t fix what caused the problem in the first place. Sometimes, the stain on the decking directly corresponds to a damaged shingle above. Other times, water can travel along rafters or framing before dripping onto the decking, making the source less obvious. Look for the ‘highest’ point of damage, as water typically flows downwards. If you’re struggling to find the source, a professional roofer can often use specialized tools like moisture meters or even conduct a water test to simulate rain and observe where the water penetrates.
Preparing for Decking Repair/Replacement
Once you’ve assessed the damage, it’s time to get ready for the repair. This involves gathering materials, ensuring safety, and properly exposing the damaged area.
Safety Precautions
Working on a roof is inherently risky. Always prioritize safety. Wear appropriate personal protective equipment (PPE), including non-slip boots, gloves, and safety glasses. If working at heights, a safety harness securely tethered is non-negotiable. Ensure your ladder is sturdy and properly secured. Understand weather conditions; avoid working on wet or windy days. If you’re not comfortable with heights or significant roof work, consider hiring a professional.
Necessary Tools and Materials
You’ll need a range of tools. A pry bar and hammer will be essential for removing old shingles and decking. A utility knife or shingle cutter will help with shingle removal. A circular saw or reciprocating saw will be needed for cutting out damaged decking sections and new pieces. A tape measure, chalk line, and carpenter’s square will help ensure accurate measurements and cuts. You’ll also need a drill/driver for fastening.
Materials will include new roof decking sheets (plywood or OSB, matched to the existing thickness), roofing nails or screws designed for decking, new roofing underlayment (felt paper or synthetic), and new shingles to match your existing roof. Don’t forget roofing cement or caulk for sealing.
Exposing the Damaged Area
This is a critical step. You need to carefully remove the shingles directly above and around the damaged decking. Start by gently prying up the shingle courses above the damaged area, working your way down. Use a flat pry bar to separate shingles and remove roofing nails. Be careful not to damage surrounding good shingles if you plan to reuse them. Remove enough shingles to expose the full extent of the damaged decking, plus an additional foot or two beyond the visible damage to ensure you’re working with sound material. Set aside any reusable shingles carefully. Once the shingles are off, remove the old underlayment to fully expose the compromised decking.
Replacing Damaged Decking Sections
This is the core of the repair process. Taking your time and being precise here will result in a sturdy and durable fix.
Cutting Out Damaged Decking
Using your chalk line, carefully mark the perimeter of the damaged section on the decking. Extend these lines to reach the center of the nearest roof rafters or joists. This is crucial: your new decking needs to be fully supported by the framing members. Use a circular saw set to the depth of the decking (usually 1/2″ or 5/8″) to make your cuts. Always wear eye protection and be mindful of any electrical wiring or plumbing that might be just below the decking if you’re not in an open attic. Once the cuts are made, use a pry bar to gently lift and remove the damaged decking sections. Clean away any debris, rot, or mold from the exposed rafters.
Installing Support Blocking (If Necessary)
Sometimes, the cut you make for the new decking won’t align perfectly with a rafter on all sides, or you might have cut out a section that spans between rafters. In these cases, you’ll need to install additional support blocking between the existing rafters to provide a nailing surface for the new decking. Cut pieces of framing lumber (typically 2x4s) to fit snugly between the rafters. Secure these blocks with structural screws or framing nails, ensuring they are flush with the top edge of the rafters. This creates solid backing for your replacement decking edges.
Fastening New Decking
Cut your new plywood or OSB to fit precisely into the opening you created. Test the fit before fastening. Once satisfied, position the new decking and secure it to the rafters and any support blocking using roofing nails or structural screws. Follow the manufacturer’s recommendations for fastener spacing, but generally, fasteners should be driven every 6 inches along the edges and every 12 inches in the field (the middle) of the panel. Ensure the fasteners penetrate firmly into the framing members. The surface of the new decking should be flush with the surrounding existing decking to create a smooth, continuous surface.
Restoring the Roof Surface
With the decking repair complete, you’ll need to put the layers back that protect it from further moisture intrusion.
Applying Underlayment
Once the new decking is securely in place, lay down new roofing underlayment (felt paper or synthetic product) over the repaired area and extending onto the surrounding existing underlayment. Typically, you’ll overlap the existing underlayment by at least 6 inches. Fasten the underlayment according to manufacturer guidelines, usually with cap nails or staples. Ensure all seams are properly overlapped to shed water effectively. This layer is your primary moisture barrier, so pay attention to detail.
Reinstalling Shingles
Now comes the task of putting the shingles back. If you carefully removed and preserved the old shingles, you can often reuse them. Start by reapplying the starter course if it was removed, then work your way up the roof. Ensure each shingle course is properly aligned and has the correct exposure (the amount of shingle visible). Use new roofing nails to secure the shingles, making sure they penetrate through the decking. Overlap each shingle correctly with the ones below and beside it to create a watertight seal. If you needed to replace flashing, install the new flashing components now, integrating them properly with the shingle layers and sealing any penetrations with roofing cement.
Sealing and Final Touches
Once all the shingles are reinstalled, apply a bead of roofing cement or an appropriate sealant around any newly installed flashing or penetrations (like pipe vents). This provides an extra layer of protection against water intrusion. Inspect your work thoroughly; look for any lifted shingle edges, exposed nail heads, or gaps. Remove any debris from the roof and gutters. It’s always a good idea to perform a visual check after the next significant rainfall to ensure your repair is holding up and there are no new leaks.
By following these steps, you can effectively repair roof decking damaged by moisture intrusion, restoring the structural integrity and weather protection of your home. If at any point you feel unsure or the damage seems too extensive, don’t hesitate to consult a professional roofing contractor.
FAQs
What causes moisture intrusion in roof decking?
Moisture intrusion in roof decking can be caused by a variety of factors, including damaged or missing shingles, improperly installed flashing, clogged gutters, and condensation buildup in the attic.
How can I identify moisture damage in roof decking?
Signs of moisture damage in roof decking include sagging or uneven areas on the roof, water stains on the ceiling or walls, mold or mildew growth, and a musty odor in the attic or living space.
Can roof decking be repaired if it’s been damaged by moisture intrusion?
Yes, roof decking can be repaired if it has been damaged by moisture intrusion. The damaged sections can be removed and replaced, and any underlying issues such as leaks or ventilation problems can be addressed to prevent future damage.
What are the steps involved in repairing roof decking damaged by moisture intrusion?
The steps involved in repairing roof decking damaged by moisture intrusion typically include identifying the source of the moisture, removing the damaged decking, addressing any underlying issues, installing new decking, and ensuring proper ventilation and waterproofing.
How can I prevent moisture intrusion in roof decking?
To prevent moisture intrusion in roof decking, it’s important to regularly inspect the roof for damage, keep gutters and downspouts clear of debris, ensure proper attic ventilation, and address any leaks or condensation issues promptly. Regular maintenance and timely repairs can help prevent moisture damage to the roof decking.